Guide
To use this template you need to follow the following three steps:
- Open the image in a new Tab to able to zoom.

Step 01: Generate a Repo on Github

- Generate from the template.
- Use the following name:
username.github.io - Wait until the initial commit workflow is completed.
- In Settings, choose Pages, choose gh-pages branch, and save.
Congratulations!
You have a digital garden that should be available on `username.github.io`
Step 02 Install local tools
Step 02.1 Install GIT
To work locally on the repo and be able to update it, you need to install GIT and link it to your account. Install GIT
Step 02.2 Install & Configure Obsidian
- Clone your repo
git clone https://github.com/username/username.github.io.git - Install Obsidian
- Open username.github.io folder as a folder in Obsidian.
- The vault comes by default configured with the recommended plugins (Templater, Excalidraw, Git, RTL Support).
(For manual configuration follow the following link Configure a new vault TODO ).
Step 03 Digital Gardening
- Change the title of your digital garden
- Change the title value in
_config.yml 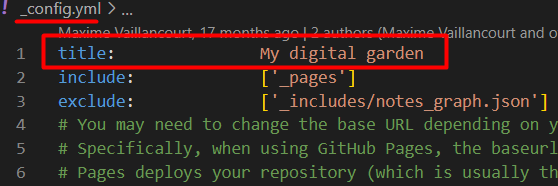
- Change the title value in
- Write your notes using Markdown (follow your-first-note)
- You can paste images, and draw diagrams using Excalidraw in the notes.
- Push all the changes to github
CTRL+P to see obsidian commands and then Obsidian git: Commit all changes Obsidian git: Push - For more advance commands check the following link Git Plugin Tutorial.
- After couple of minutes, the modifications will be online 🚀.
Table of contents
Local Graph
Mentions
كيف تسطر قوقل أهدافها؟
في 1999، انتقل [[John Doerr]]كمستشار في شركة قوقل، وعرض عليهم [[OKR]] s، أعجب بها مؤسسو شركة قوق[[Larry Page]]، [[Sergey Brin]]...